
Freezer Ready Bacon (Sausage or Ham) Egg and Cheese Breakfast Croissants
This post has been sponsored by FoodSaver®. All opinions are my own.
I’ve got to admit, with trying to round up our son, juggle who is changing the baby’s diaper in the morning, on top of trying to get ready for work, the breakfast struggle is real! There was a time when cooking a breakfast croissant took little effort.

But with a different job having me on an earlier morning schedule and my wife working graveyard some mornings, it’s impossible. That’s where taking advantage of Sunday Meal Preps come in clutch!
I’ve been finding myself really taking advantage of buying in bulk. Normally I’ll buy my proteins in bulk when there’s a good sale, so I can freeze and vacuum seal it with my FoodSaver FM5000 2-in-1 Food Preservation System.
This Sunday, I’m going to tackle having breakfast meal prepped for the family for the next few weeks!
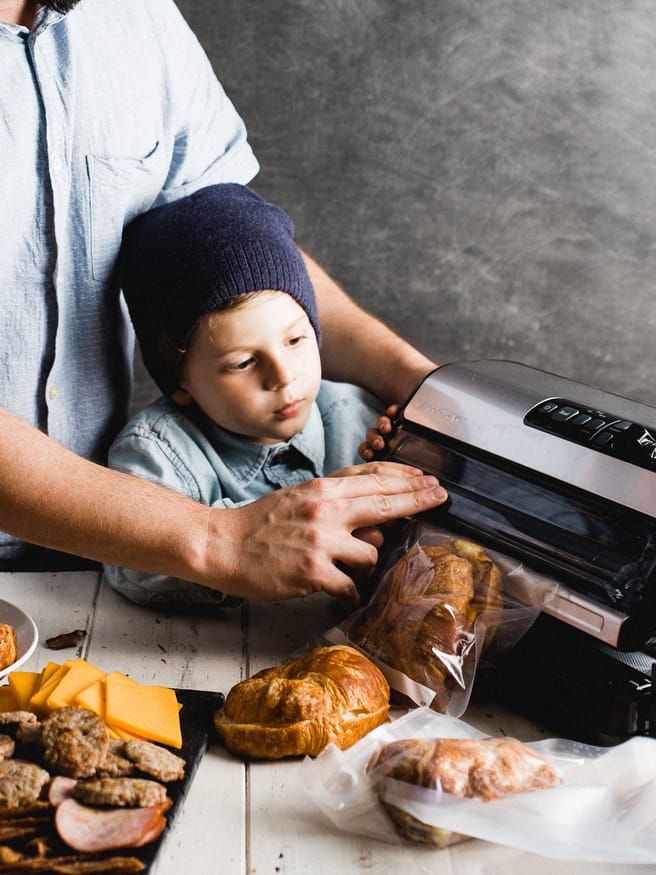
With the help of my little buddy of course

I caught an awesome Facebook live on FoodSaver’s Facebook page with Jonathan Bloom and he had some great tips, like getting your kids involved during your Sunday meal prep. It get them excited about cooking, and the food they’re going to eat – and I’ll take whatever help I can get!


After I spent about 30 minutes getting all the ingredients prepped, Brayden was ready to help me assemble and get everything ready to put in the freezer! I don’t know if he was more excited to put the breakfast croissants together, or if he just wanted to help play with the FoodSaver FM5000!
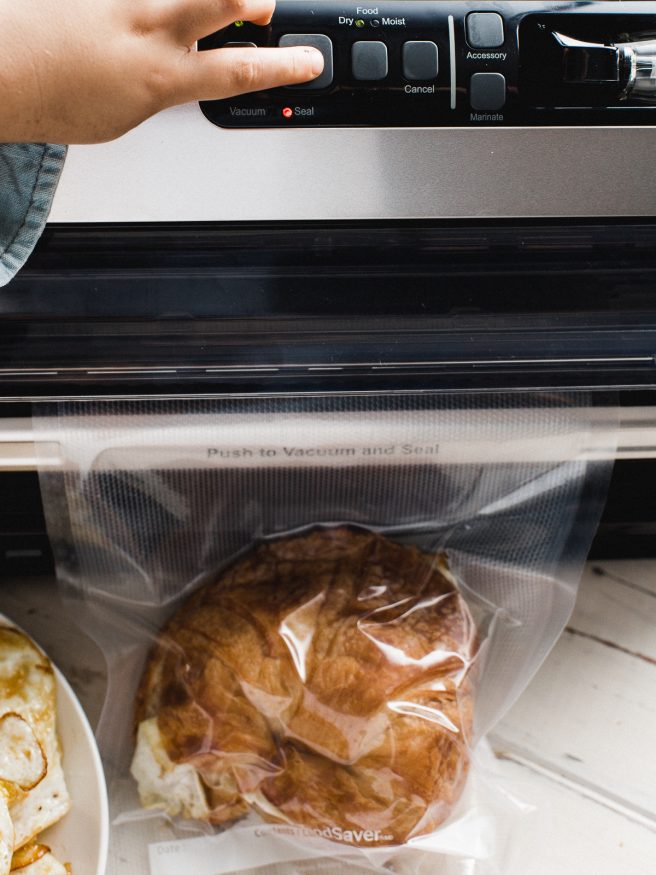
Since a croissant is a very delicate pastry item, take advantage of the PulseVac feature, which allows you to stop the vacuum sealing process right when you need it to stop.
We found that letting the vacuum go right up to the point where it’s nice and tight around the breakfast croissant, but not applying any tight pressure to the croissant was the perfect moment to stop the vacuum process and seal up the bag.
No smashed or freezer burned breakfast croissants. Just the way we like them!

Looks like the family will be well fed for the next couple of weeks and they’ll taste just like they were cooked that morning. Either bake them while everyone is getting ready, or microwave right before you leave the house. Either way, you’ve gone easily a step or two above a breakfast bar!

Freezer Ready Bacon (Sausage or Ham) Egg and Cheese Breakfast Croissants
Ingredients
- 12 whole croissants
- 12 whole eggs
- 8 strips bacon
- 8 slices canadian bacon
- 4 large sausage patties
- 12 slices cheese
- 4 tbsp olive oil as needed
Instructions
- Preheat oven to 350 F. Place bacon on a cooling rack over a baking sheet on the top rack. place sausages and Canadian bacon on a cooling rack over a backing sheet on the bottom rack. Cook for about 20-30 minutes until fully cooked. Place in the fridge when done.
- While the meat is cooking in the oven, add 2 tbsp of oil in a medium frying pan over medium heat. Crack and egg in the pan, using a fork to break up the yolk. Cook for about 1 minute, then flip. cook another 30 seconds. Place on a plate. Repeat until all eggs are cooked. Place in the fridge when done.
- When the eggs and meat are cool, take them out and get everything stationed to make your breakfast croissants. Cut your croissants in half, place a slice of cheese, egg, then bacon ham or Canadian bacon on each. This will give you 4 bacon, 4 sausage, and 4 Canadian bacon breakfast croissants. Of course, feel free to change the amounts!
- Place each croissant in a vacuum sealer bag, then begin to vacuum in the FoodSaver FM5000. Once the air is out of the bag, but not yet applied pressure to the breakfast croissant, stop by pressing the seal button. Repeat until all breakfast croissants are sealed. Place in the freezer and store up to 6 months
- When ready to cook, place in the oven at 350 until the cheese is fully melted, about 15-20 minutes. For the microwave, cover with a paper towel and cook on high for 1:30 minutes, then another 30 seconds without the paper towel. Enjoy!
